Upgrading an off-grid shed: bigger battery, bigger panels
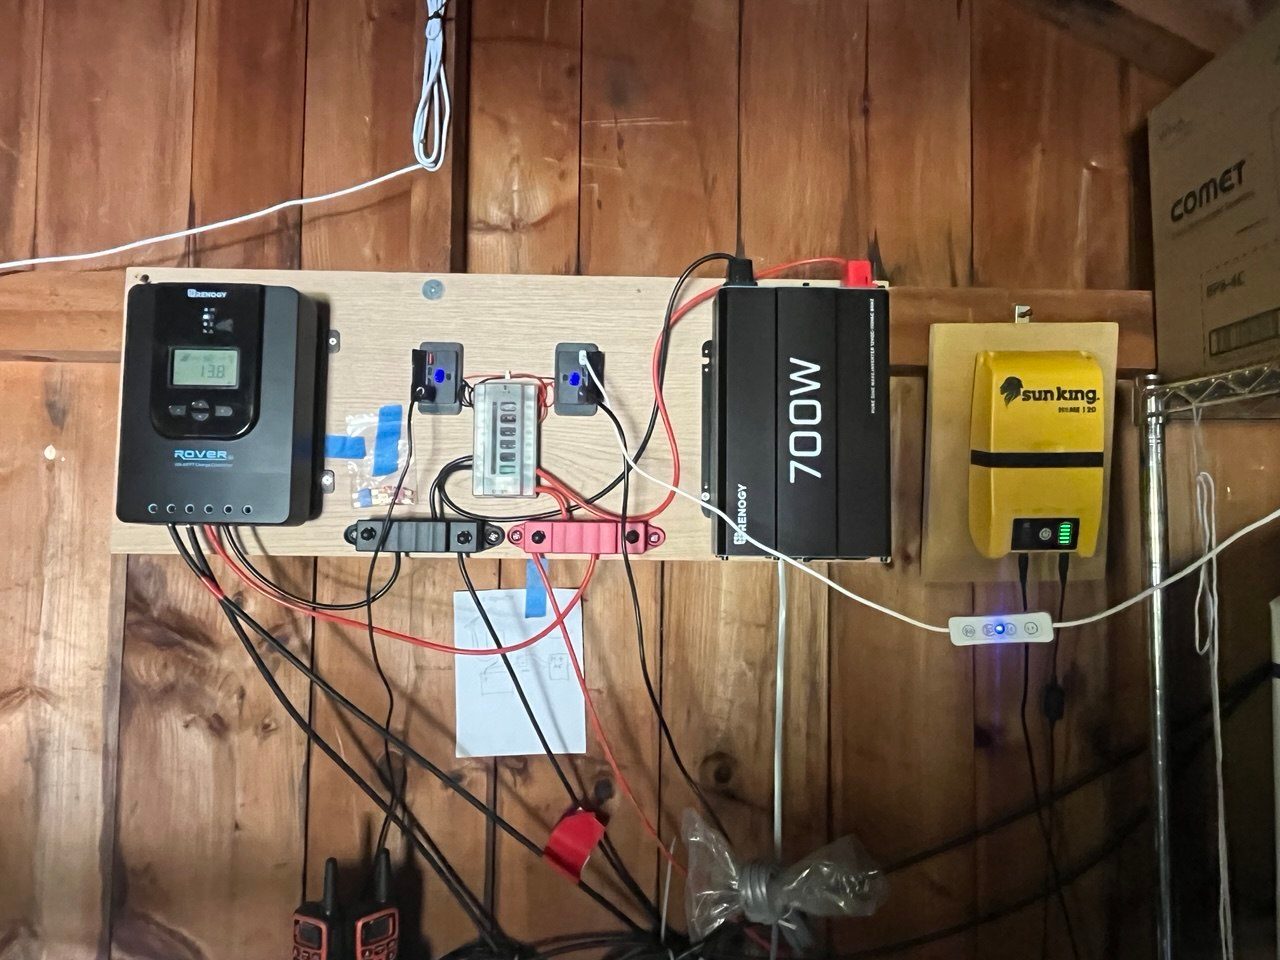
We're upgrading a small off-grid solar setup in a shed: swapping in a much bigger battery and adding a pair of full-size solar panels. It's a nice example of how a simple 12V system is put together — and of what needs to change when you scale one up. Here's what's there now, what's changing, and the reasoning behind each choice.
The current setup
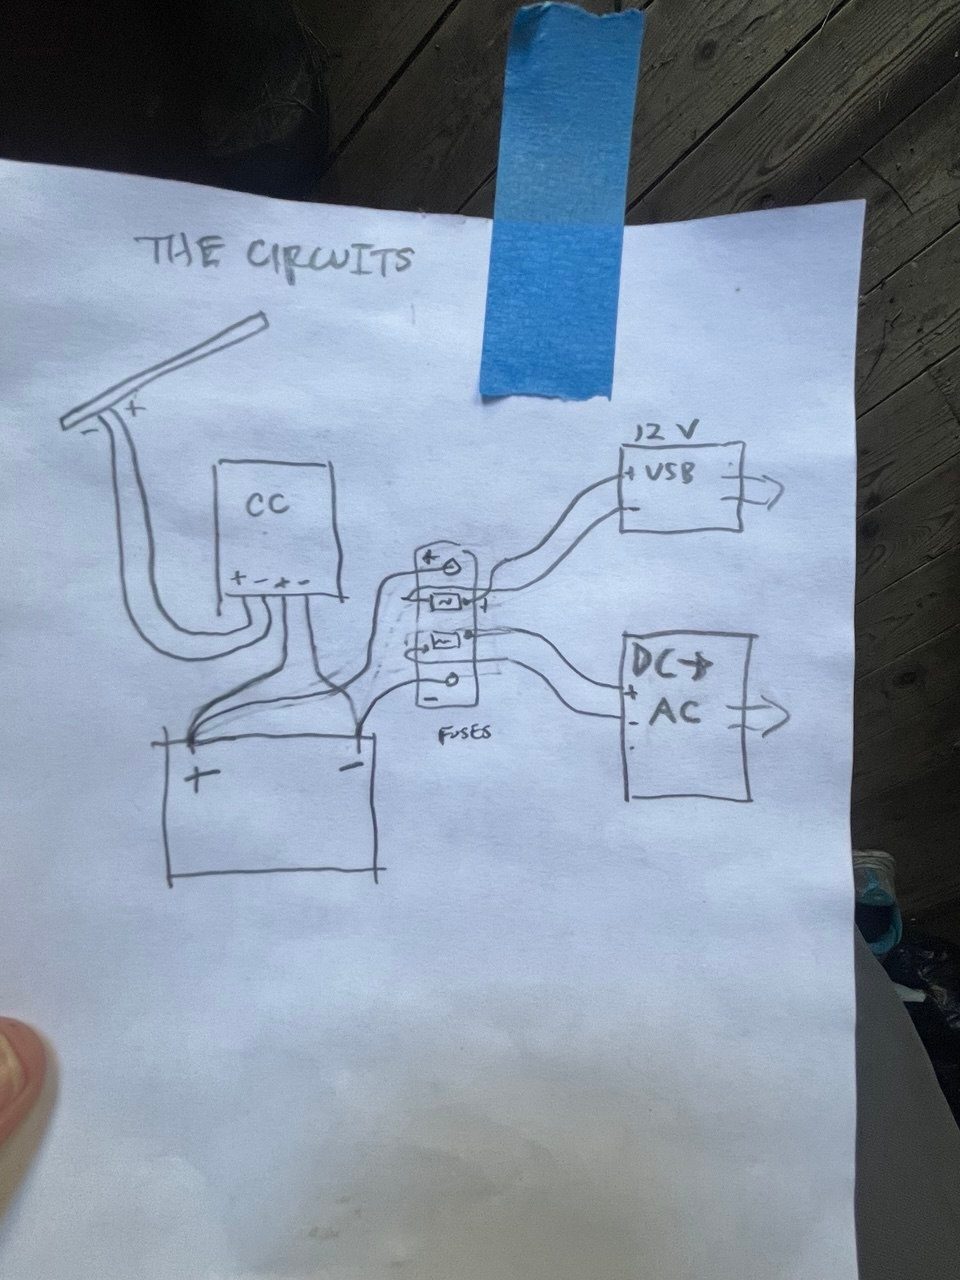
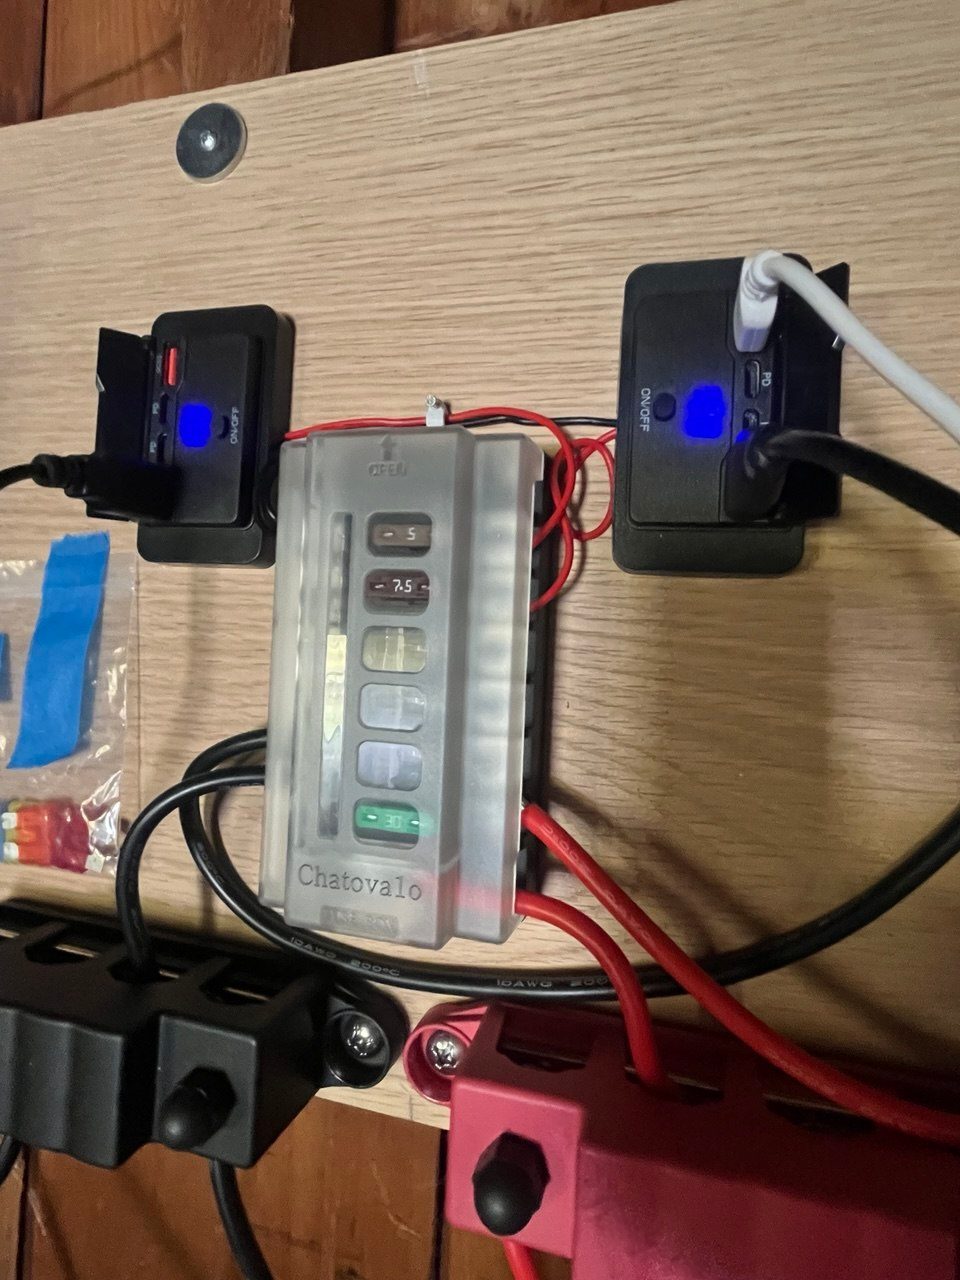
The system is a classic small 12V layout: a solar panel feeds a charge controller, the controller charges a battery, and the battery feeds a fuse block that supplies the loads — a couple of USB/12V outlets and an inverter for 110V AC.
| Part | What it is | What it does |
|---|---|---|
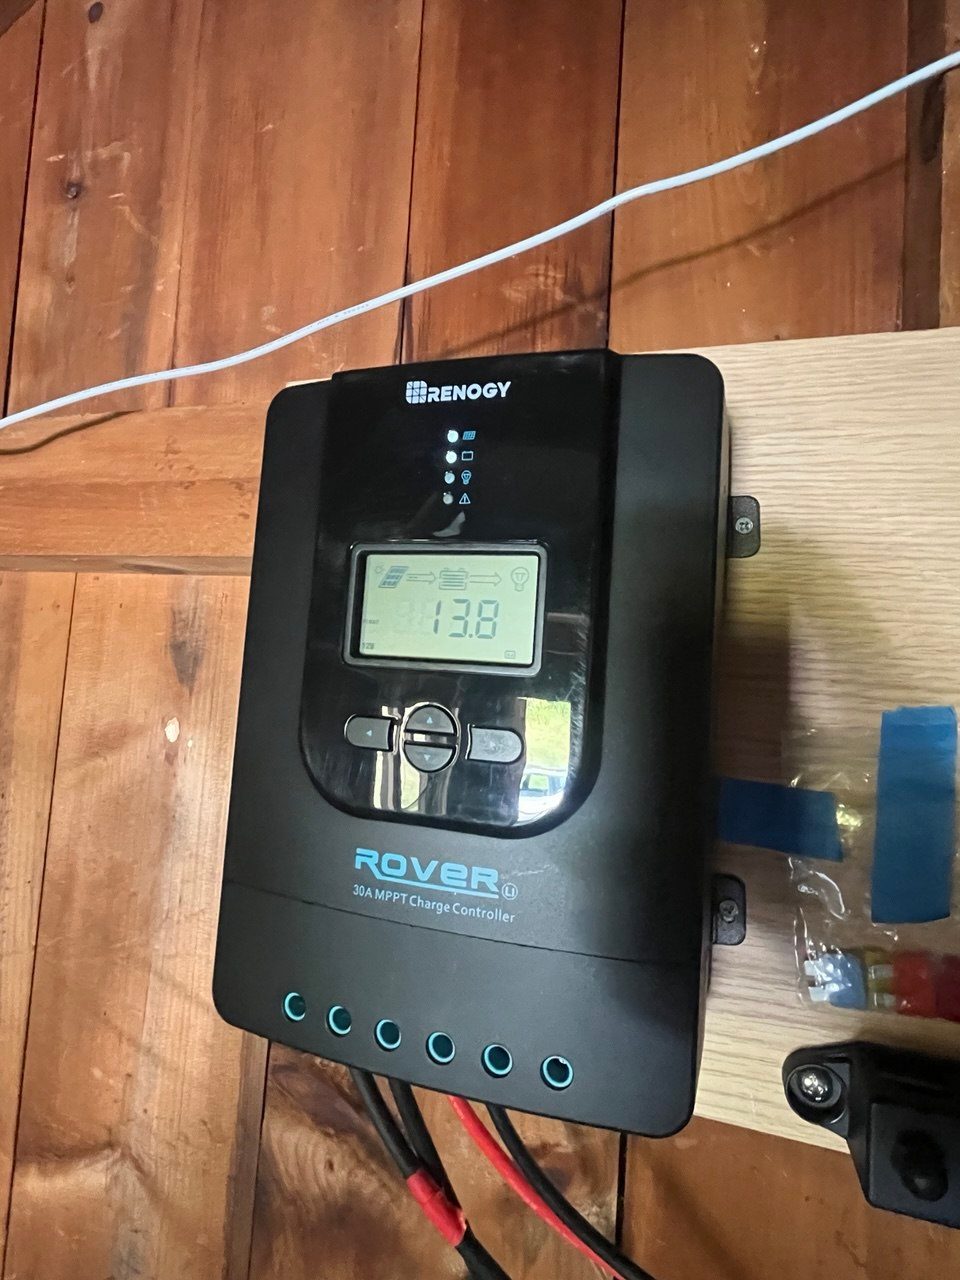
| Charge controller | Renogy Rover 30A MPPT | Takes power from the panel and charges the battery safely |
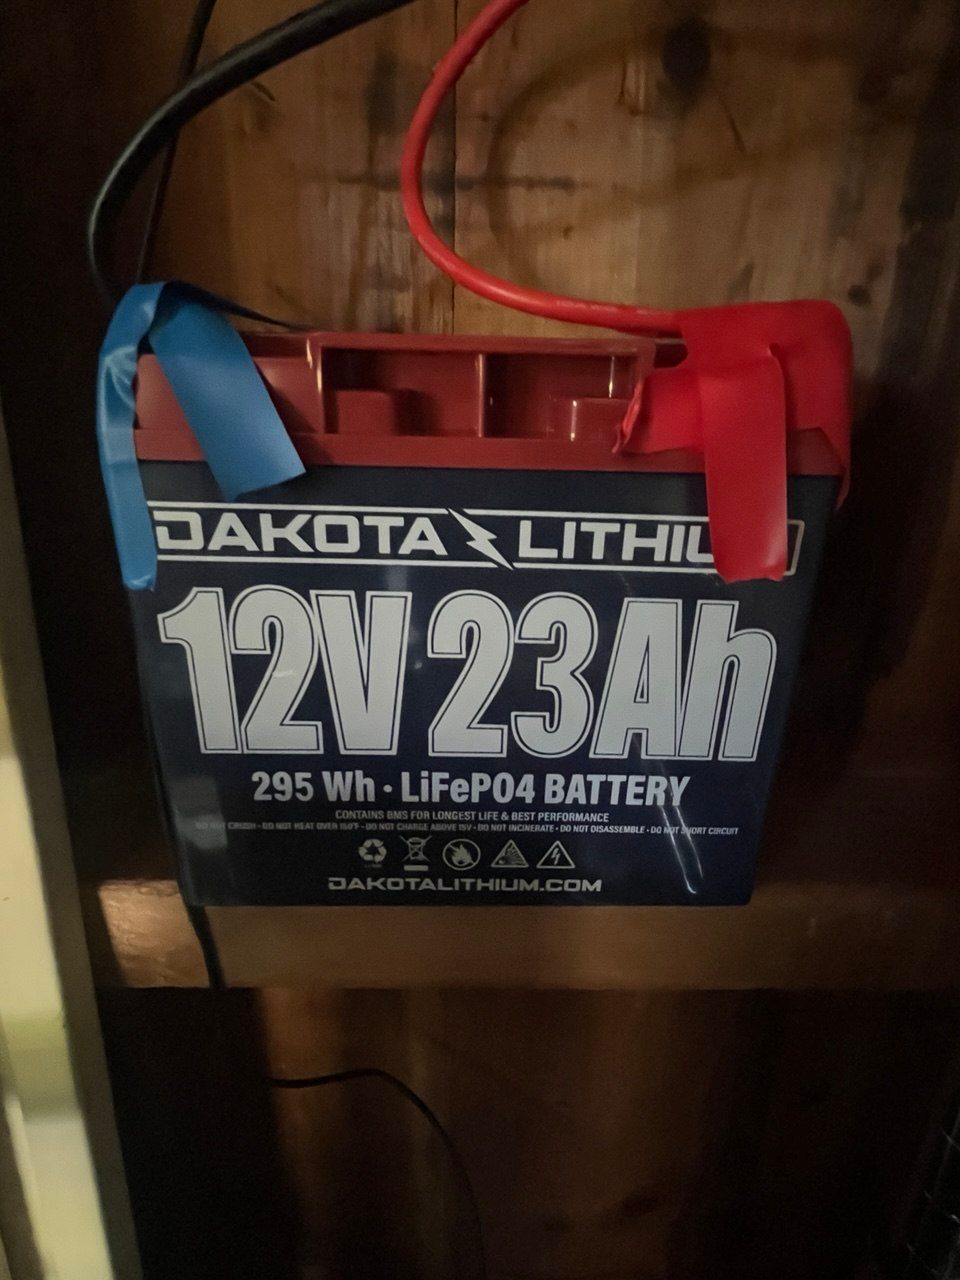
| Battery | Dakota Lithium 12V 23Ah LiFePO4 (295 Wh) | Stores energy for nights and cloudy days |
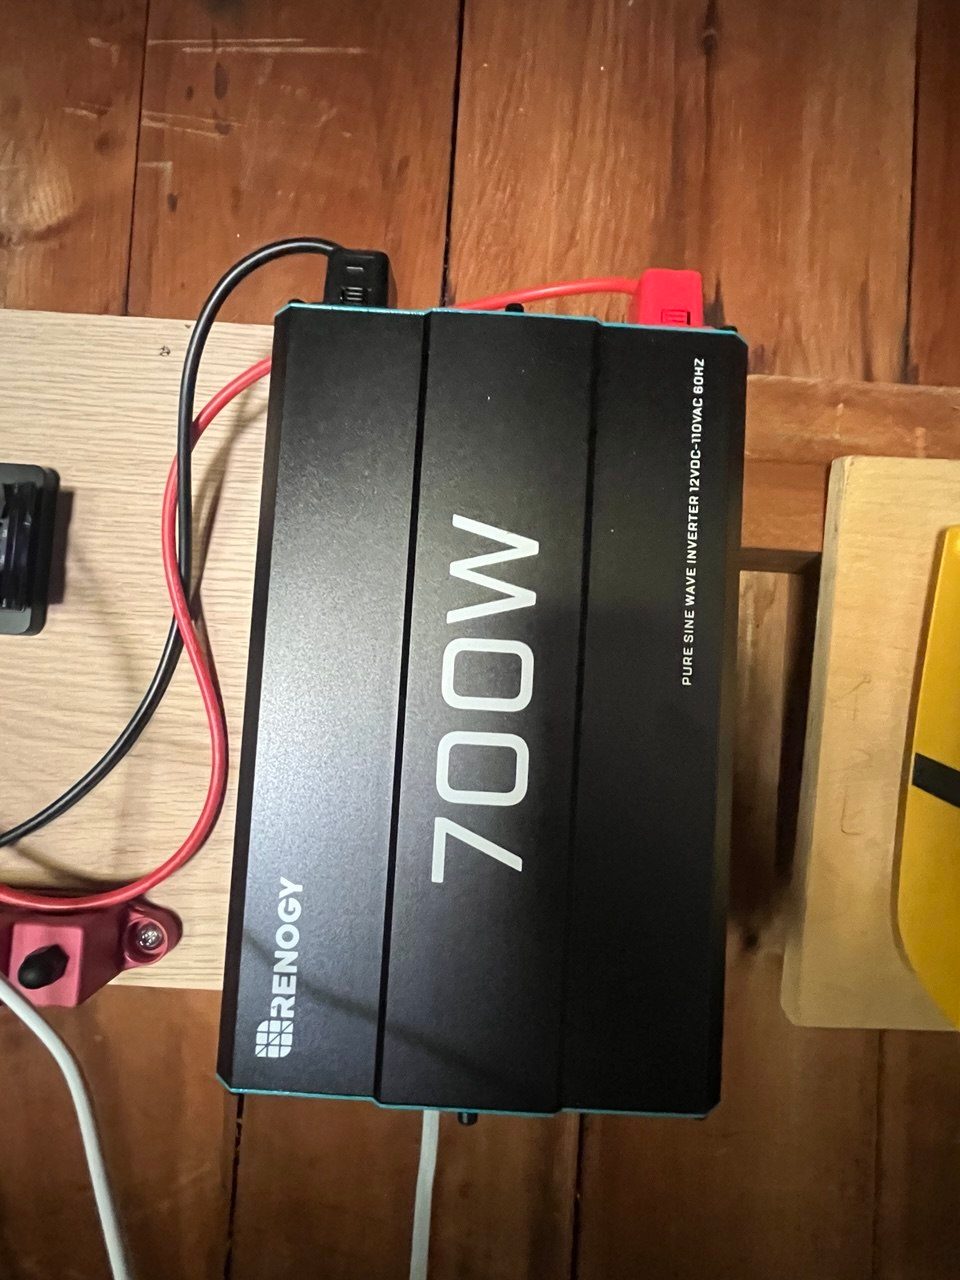
| Inverter | Renogy 700W pure sine wave | Turns 12V DC into 110V AC for ordinary plugs |
| Fuse block | 6-way blade fuse block (5A, 7.5A, 30A fitted) | Protects each circuit's wiring |
| Outlets | Two panel-mount USB/12V sockets | Phone and device charging |
The upgrade
A much bigger battery: 200Ah AGM
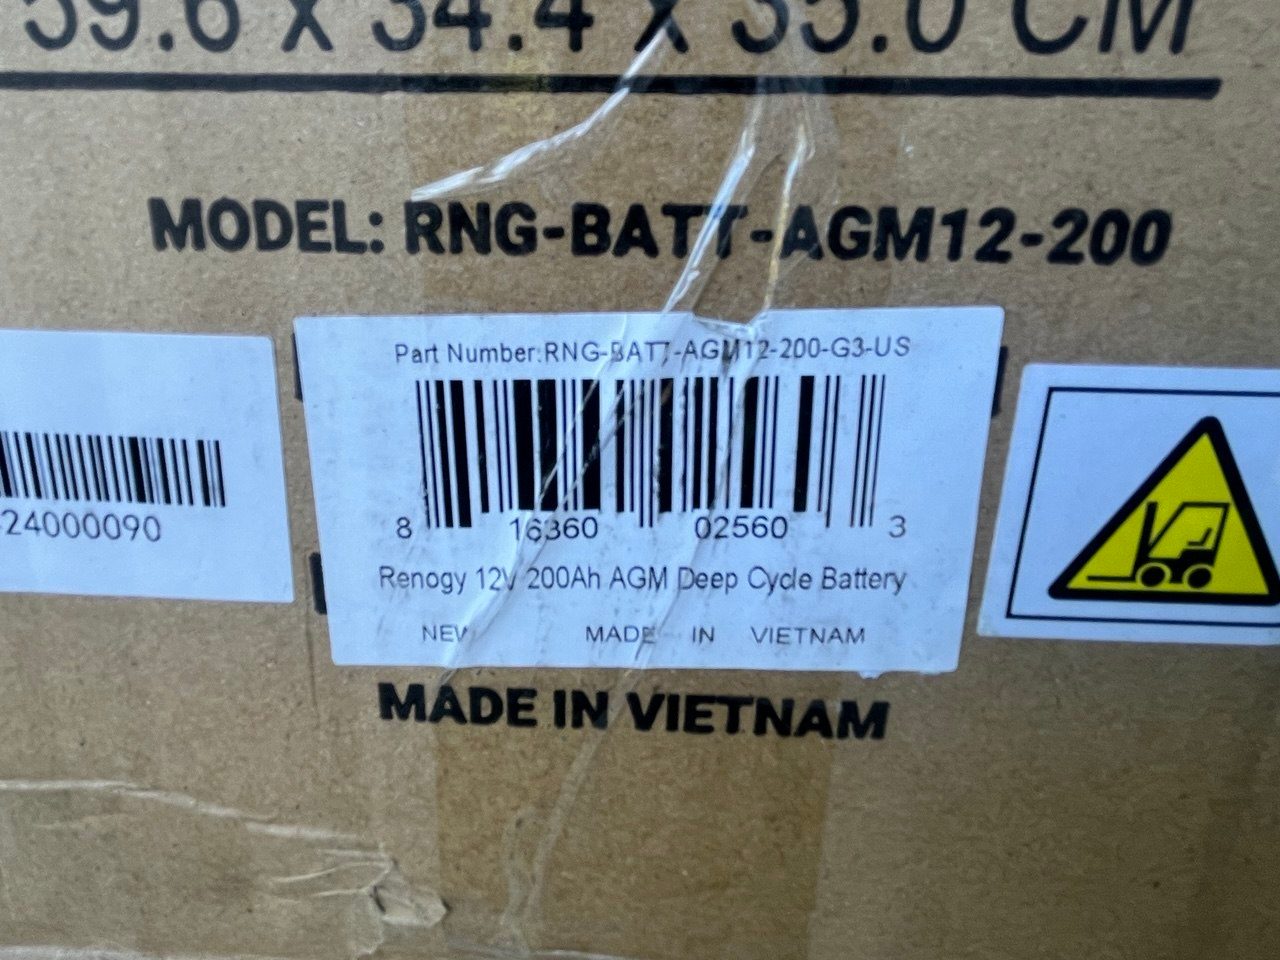
The new battery is a Renogy 12V 200Ah AGM (absorbed glass mat — a sealed lead-acid battery). On paper it stores about 2,400 Wh, roughly eight times the old battery. In practice, lead-acid batteries last much longer if you only use about half their capacity, so the usable figure is closer to 1,200 Wh — still about four times what the shed has now.
Switching from lithium to AGM changes a few things:
- The charge controller needs new settings. Lithium and lead-acid batteries want different charging voltages, so the Rover gets switched from its lithium profile to its sealed/AGM profile (and the voltages checked against the battery's label).
- It's heavy — around 130 lb. It lives on the floor or a solid shelf, not on the wall.
- It's better in the cold. Lithium batteries shouldn't be charged below freezing; AGMs can be, which matters in an unheated New England shed.
- It likes to be kept full. Lead-acid batteries wear out when they sit partly discharged, so it's worth protecting them from deep discharge with a low-voltage cutoff set around 12.0V.
- Old and new don't mix. The lithium battery comes out of this system entirely, rather than being wired alongside the AGM.
Two 260W solar panels, in series
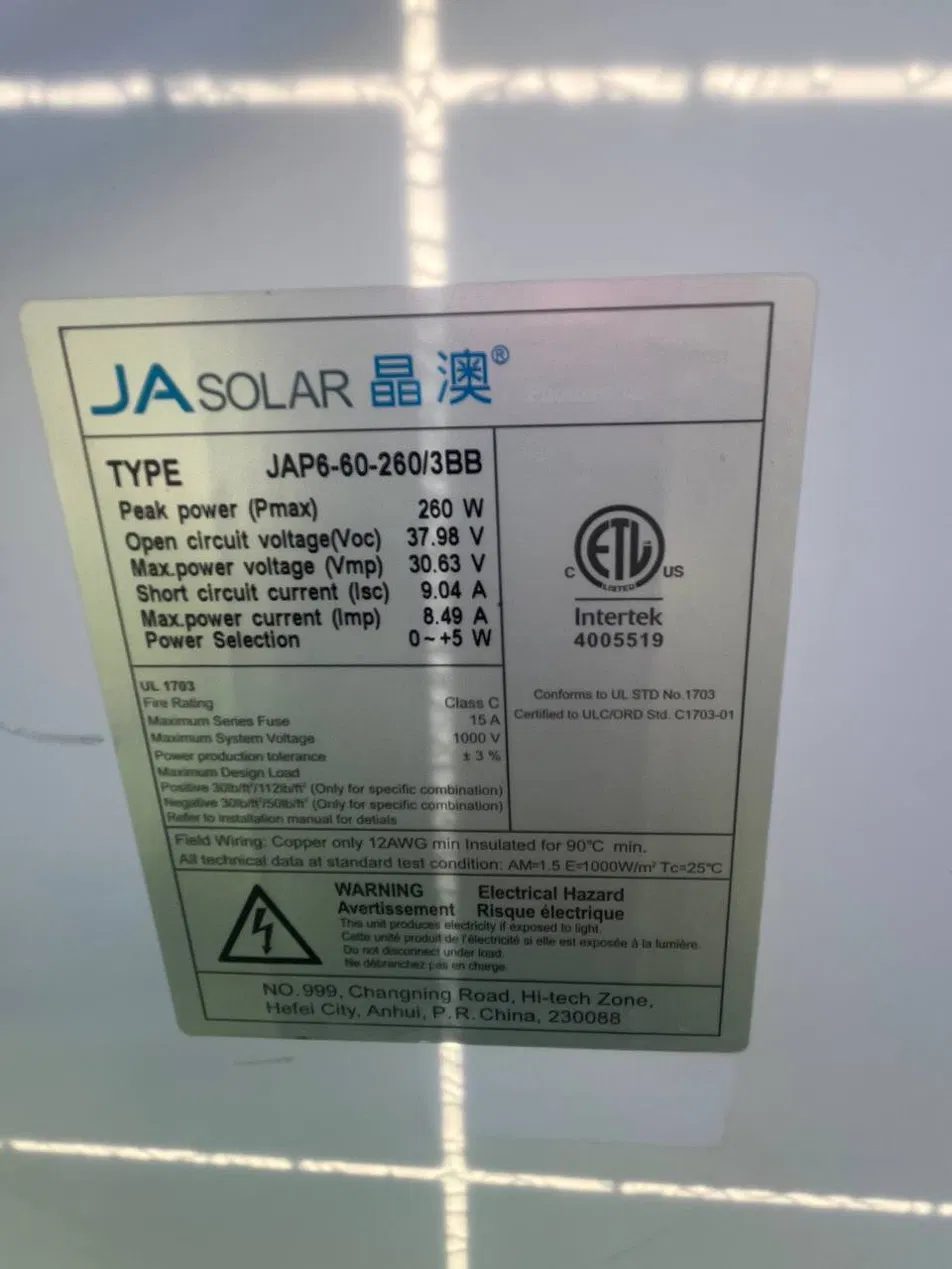
The panels are JA Solar 260W, standard 60-cell modules (37.98V open-circuit, 30.63V at max power, about 8.5A). Two of them, wired in series, are a good match for this charge controller and battery:
- Voltage stays safely under the controller's limit. Two in series is about 76V open-circuit. Panel voltage rises in cold weather — maybe to the high 80s on a frigid January morning — which still leaves headroom under the controller's 100V input limit. Three in series would exceed it.
- Current stays low (about 9A), so ordinary 10 AWG PV wire works fine even on a longer run to the shed.
- A little oversizing is a feature. 520W of panels is a bit more than a 30A controller can pass into a 12V battery (about 400–430W). On bright summer days it simply caps out; on gray winter days the extra panel area means more charging than a smaller array would give.
- Rough winter budget: about 0.8–1.2 kWh per day in December from the pair — enough to refill the battery's usable capacity in a day or two of decent sun.
- Tilt them steeply. Around 55–60°, facing south, favors the low winter sun and sheds snow.
Making it safer as it gets bigger
A bigger battery can deliver a lot more current into a short circuit, so the protection gets an upgrade along with everything else:
- A main fuse right at the battery's positive terminal, sized to the main cable.
- A fuse between the charge controller and the battery (about 40A for a 30A controller).
- A disconnect between the panels and the controller, rated for DC and at least 100V, so the array can be safely switched off.
- Its own heavy cable and fuse for the inverter. A 700W inverter can pull around 65A from a 12V battery. Right now it shares the fuse block's 30A circuit, which caps it at roughly 350W. With the new battery it gets a dedicated cable and fuse straight from the bus bar, sized per the inverter's manual.
- Grounded panel frames and racking.
And when swapping the battery: with this kind of controller, disconnect the panels first and reconnect them last — the controller needs to see the battery before it sees solar power.
What's next
Mounting the panels, running the cable into the shed, and swapping the battery. We'll post photos of the finished setup — and if you'd like to learn to build a system like this yourself, this is exactly the kind of thing we cover at our solar workshops.